Ever wondered how a design jumps from your screen into your sweatshirt? Well, the secret is in learning how to convert JPG to PES-a tiny but very mighty step in embroidery magic. If you’re new to the world of embroidery, don’t you worry; this guide will help you understand every stitch of the process, from what these file types are to how you can create your first digital embroidery design. Grab a cup of coffee and let’s stitch up some fun knowledge together!
[ez-toc]
Understanding JPG and PES Files
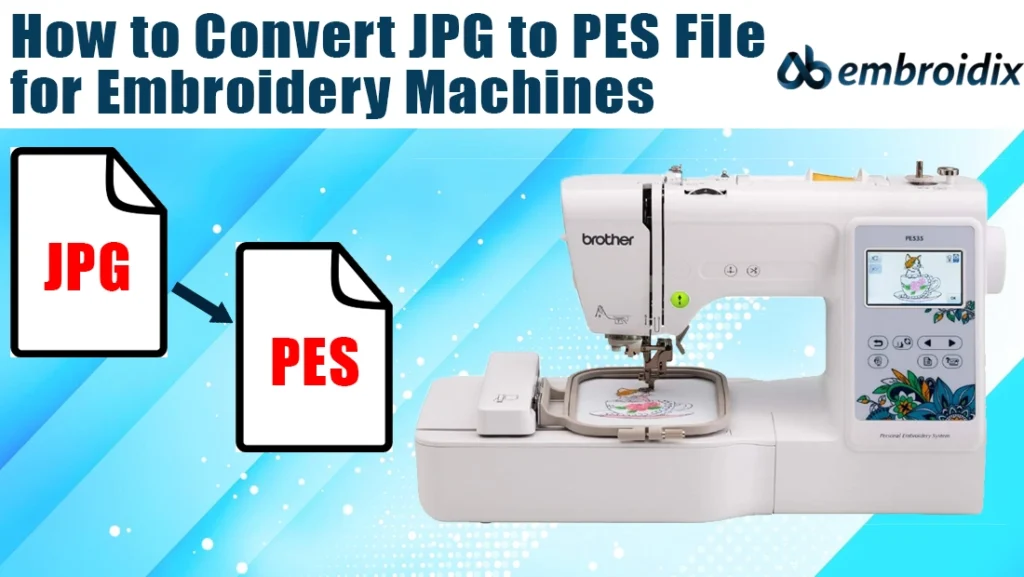
A JPG is an ordinary picture, like the selfies or logos you carry in your phone. However, embroidery machines do not read JPGs; they require PES files. PES is the format used by Brother and Babylock machines, storing stitch directions, thread changes, and density details.
You are teaching your machine a new language when you convert JPG to PES, turning flat pixels into embroidery instructions one stitch at a time.
Why You Can’t Just Rename It
Ah, if it were that easy: just rename “cat.jpg” to “cat.pes” and be done with it. Unfortunately, embroidery does not work that way. A PES file is not an image; it is a set of instructions for your embroidery machine. In converting, digitizing software traces outlines, interprets shapes, and makes decisions on where literally every single stitch should go. You are, in essence, creating a digital blueprint for your machine to follow when you convert JPG to PES, so that every line and curve in your design becomes real thread art.
Tools that make conversion easy
You’ll need embroidery digitizing software to make that translation possible. Some are quite simple and user-friendly, while others are designed for professional use. For the total beginner, SewArt is a great choice. You can import your JPG, then start simplifying the image and export a ready to use PES file directly. Advanced software like Embird, Brother PE-Design, or Wilcom Hatch will give you further accuracy and more creativity.
The great news? You do not have to be a tech wizard to use them. Opening up your JPG, you can adjust details, choose stitch styles, and preview how your design will look before you send it to the machine. It’s like Photoshop for embroidery fans-but way more satisfying because you get to watch your art come to life in thread form.
The Process of Turning Pixels into Stitches
Here’s how it goes: Open your digitizing software, import your JPG, and clean up extra details in the design to simplify it. Assign stitch types for outlines and fills, select thread colors, and then preview how it looks stitched. When satisfied, save as PES-and voilà! You’ve learned how to convert a JPG to a PES. Fire up your embroidery machine and see your image come alive in stitches.
Common Mistakes Beginners Make
The process of learning to convert from JPG to PES requires a bit of trial and error. The first mistake that one may do is to start out with an overly detailed photo; remember, embroidery machines cannot handle tiny shading or complex gradients, so you need to simplify the design for best results. The other issue one may overlook is stitch density. Too much overlap makes your fabric bunch up or tear, while too few make your design turn patchy.
It’s also wise to test out the file prior to doing the final run. A small test stitch can help you notice any problems in color order or thread breaks upfront. You could say it’s like a dress rehearsal for your embroidery show, you’d rather fix mistakes on scrap fabric instead of your favorite hoodie!
Why Converting JPG to PES Feels So Rewarding
Once you’ve done it a few times, converting JPG to PES starts to feel less like a chore and more like a creative superpower, where you can turn your favorite photo, logo, or doodle into something tangible. Imagine gifting your friends embroidered tote bags with their pets’ faces on them or creating custom patches for your brand. The possibilities are endless once you master the conversion process.
Oddly enough, it can be relaxing to watch your embroidery machine follow a design, stitch by stitch. It’s part art, part science, and all satisfaction. Each whir and hum of the needle brings your imagination to life in a way no printed image ever could.
When to Seek Professional Help
Sometimes, though, a design might be too intricate to handle alone. Detailed logos or complex shading require an expert touch. That’s where professional digitizing services like Ab Embroidix come in. Professionals know how to adjust stitch patterns, manage fabric tension, and optimize designs for flawless results. So if you’re ever unsure, don’t hesitate to reach out, pros can convert JPG to PES perfectly every time and save you hours of frustration.
From Screen to Stitch; Your Next Creative Step
The essence of embroidery is all about transformation: ideas into art you can hold. Learning to convert from JPG to PES gives you the power to create anything from custom apparel to personalized gifts, once you get the hang of it. It feels like a very natural and deeply rewarding process. You would then notice everything as potential designs, from photos and doodles to logos, realizing that all of them are able to be brought into life by your embroidery machine.
So fire up your software, pick your favorite image, and start experimenting. Every design you convert teaches you something new; each stitch brings you closer to mastering this creative craft.
Let’s Get Stitching!
But embroidery is not just a craft-it is a means of expressing your creativity, literally threading your imagination into reality. Whether one designs for fun, for business, or for gifts, knowing how to convert JPG to PES opens up endless opportunities to make your ideas shine. And if you ever get stuck or would like a professional touch, a team is always ready at Ab Embroidix to help you bring your design dreams into reality, one stitch at a time.
Contact: +1 786-987-3847
E-mail: abembroidix@gmail.com